I wrote a blog about matuka flies late summer last year, diving a little bit into the history of the style. Our resident, fly tying factory, Håkan, has made a step-by-step instruction on tying a matuka, so let’s take a more detailed look at the fly.
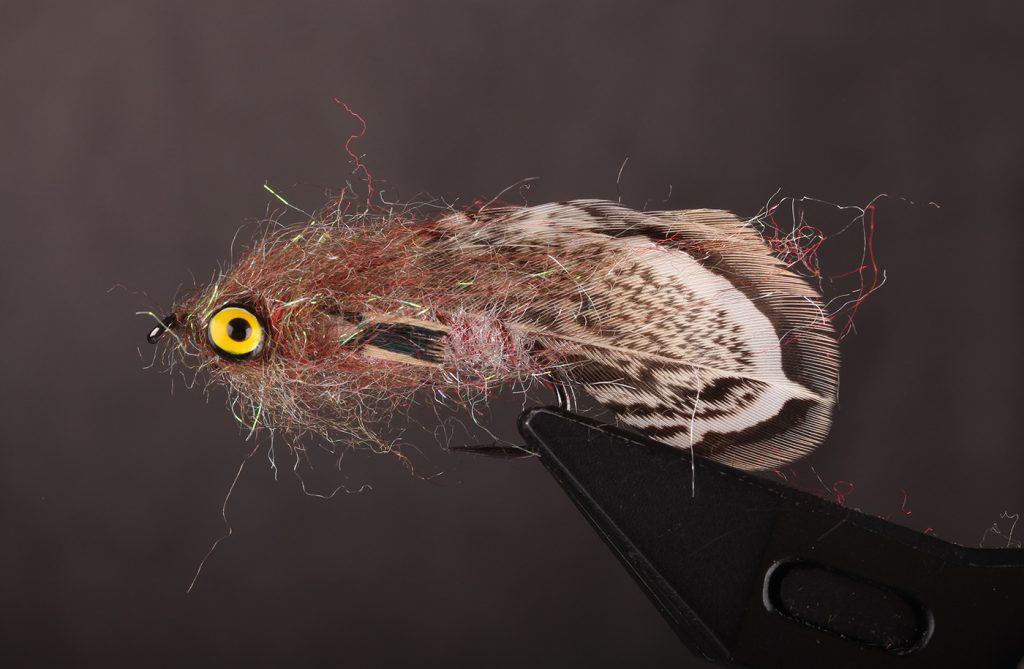
This is a pattern of Håkan’s and it doesn’t really have a name yet, so let’s go with the brilliant name, Håkan’s Matuka. Håkan’s Matuka uses a few, for matukas, uncommon materials, yet very ordinary materials. Dubbing, pheasant feathers and dumbbell eyes. Unlike many matukas, which are long and slender, Håkan uses the pheasant feathers and a dubbing head to create a profile more akin to a sculpin. That means that the pattern is equally useful in both fresh- and salt water. Being weighted with dumbbell eyes it’ll get down fast in the deepest pools and using lighter weights (or no weight) it’s well suited for still water fishing.
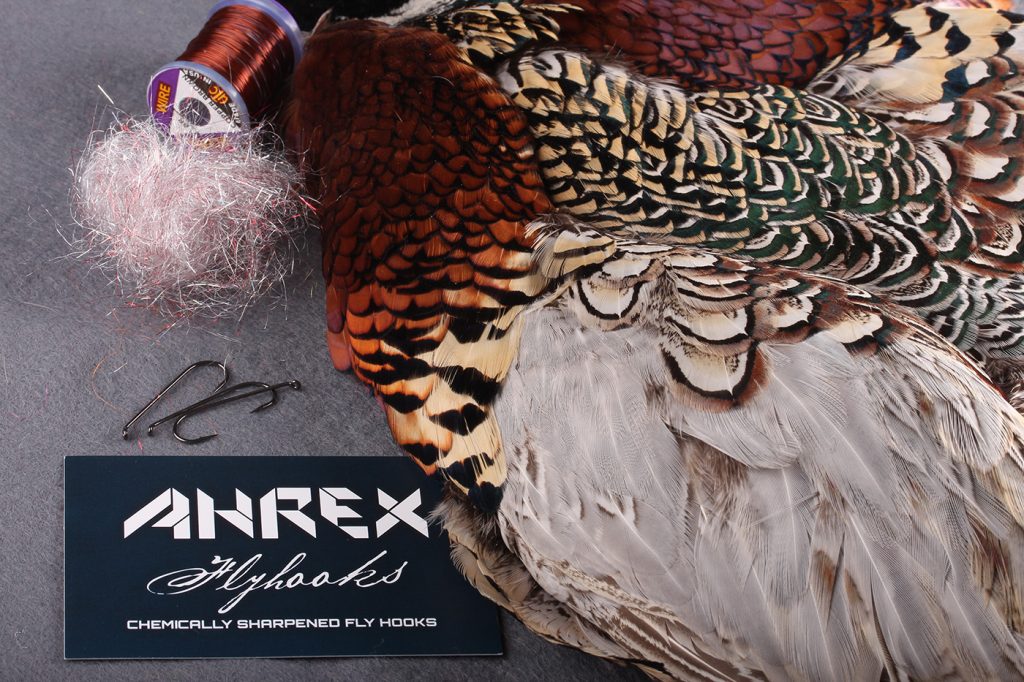
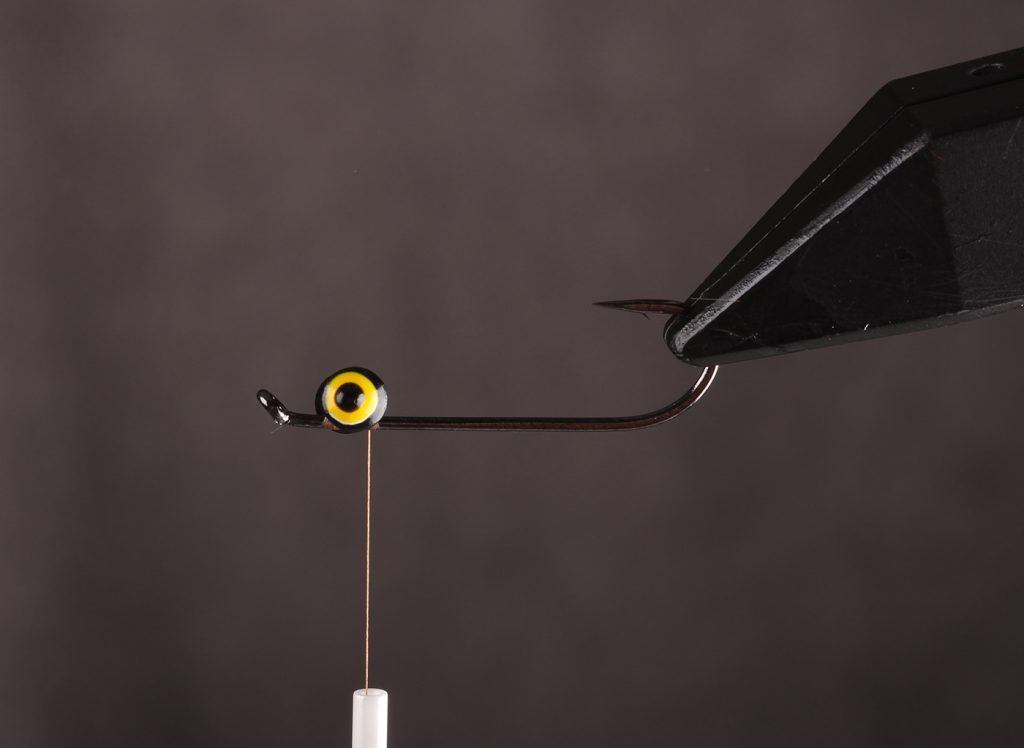
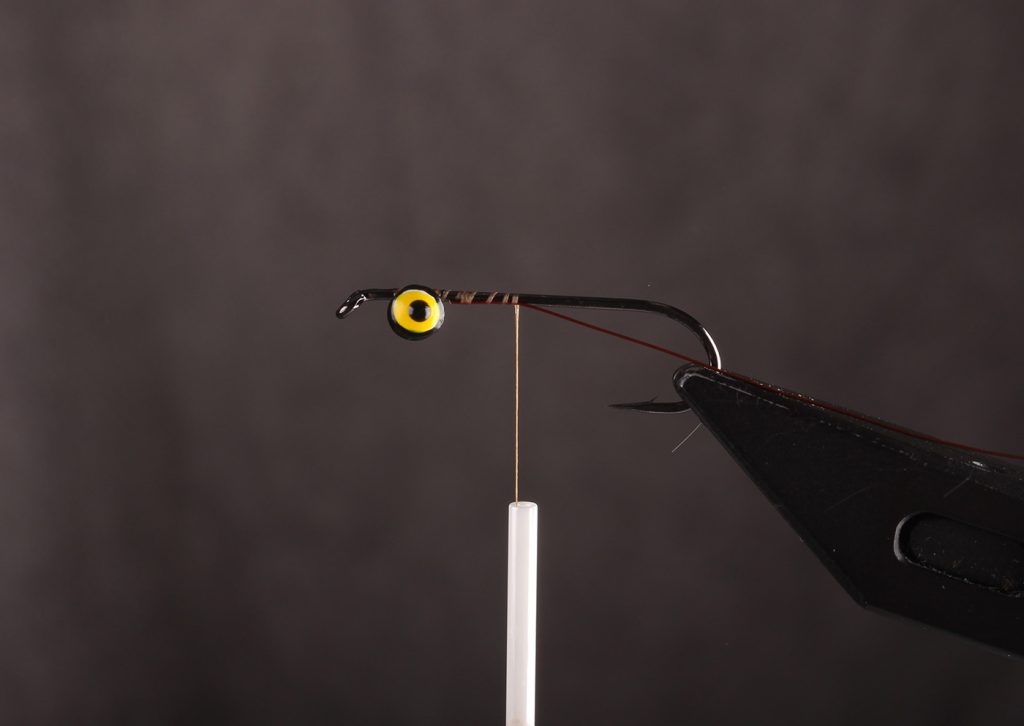
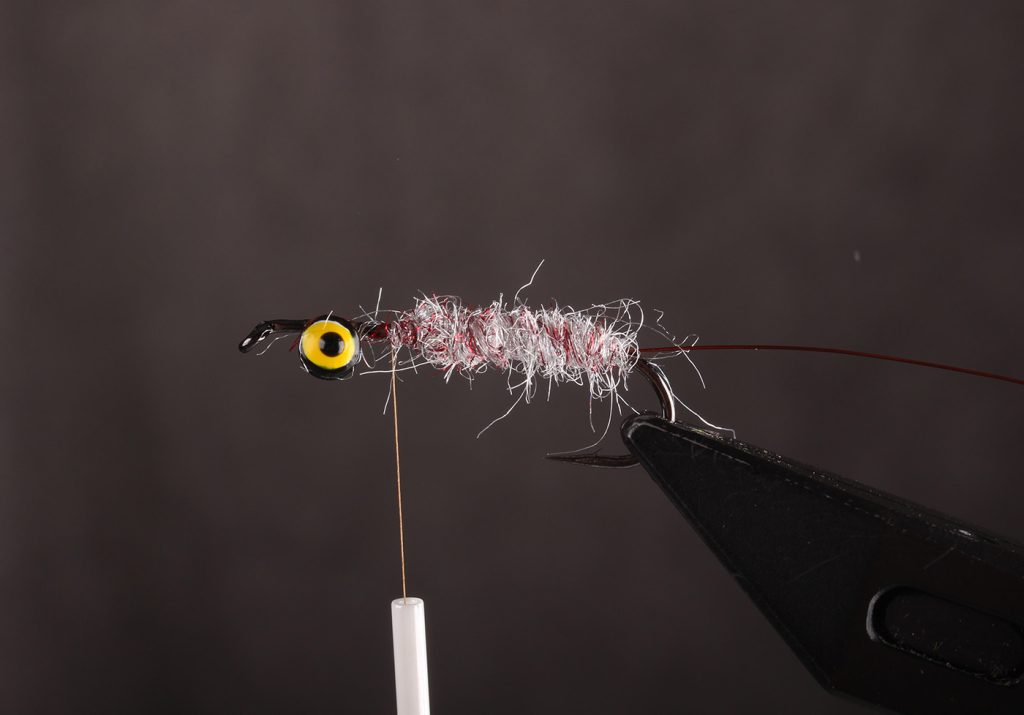
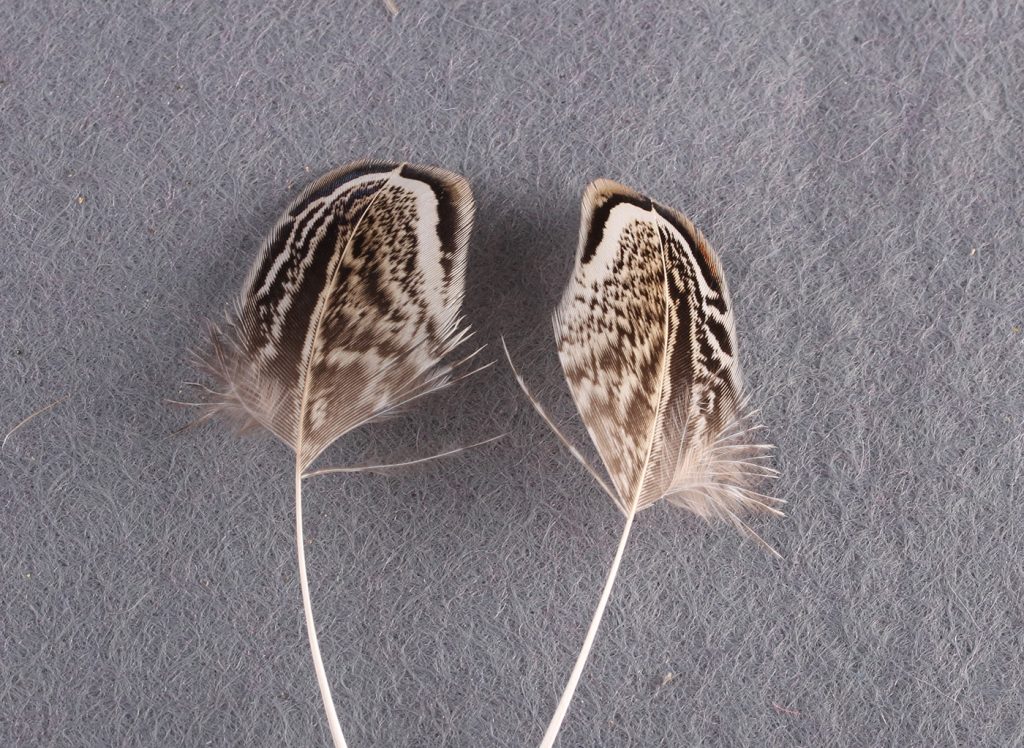
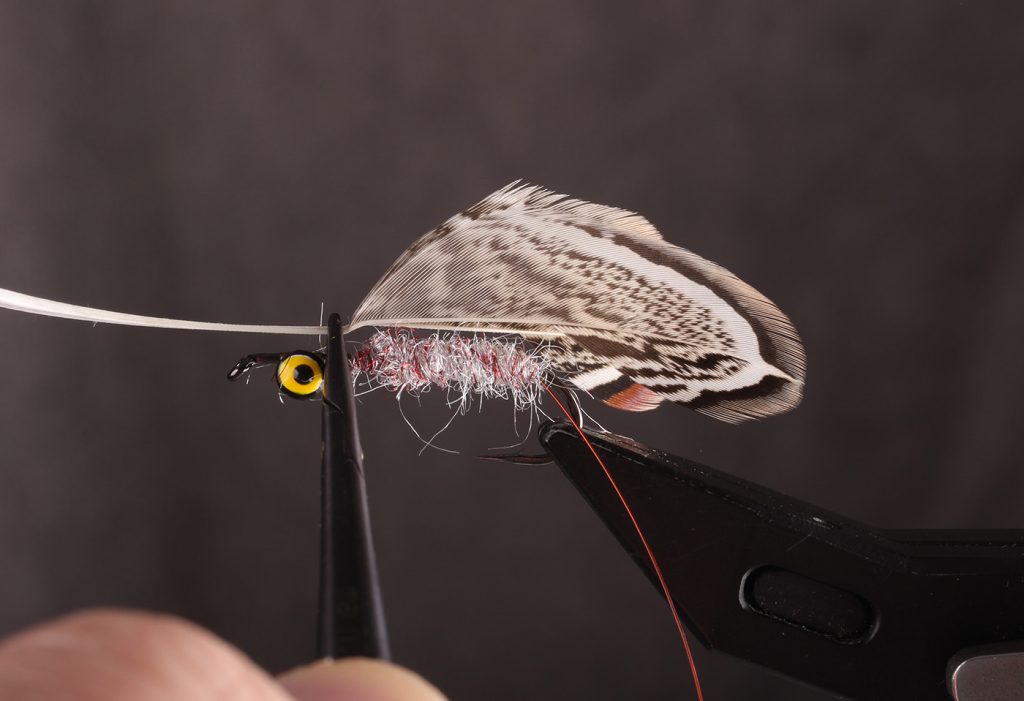
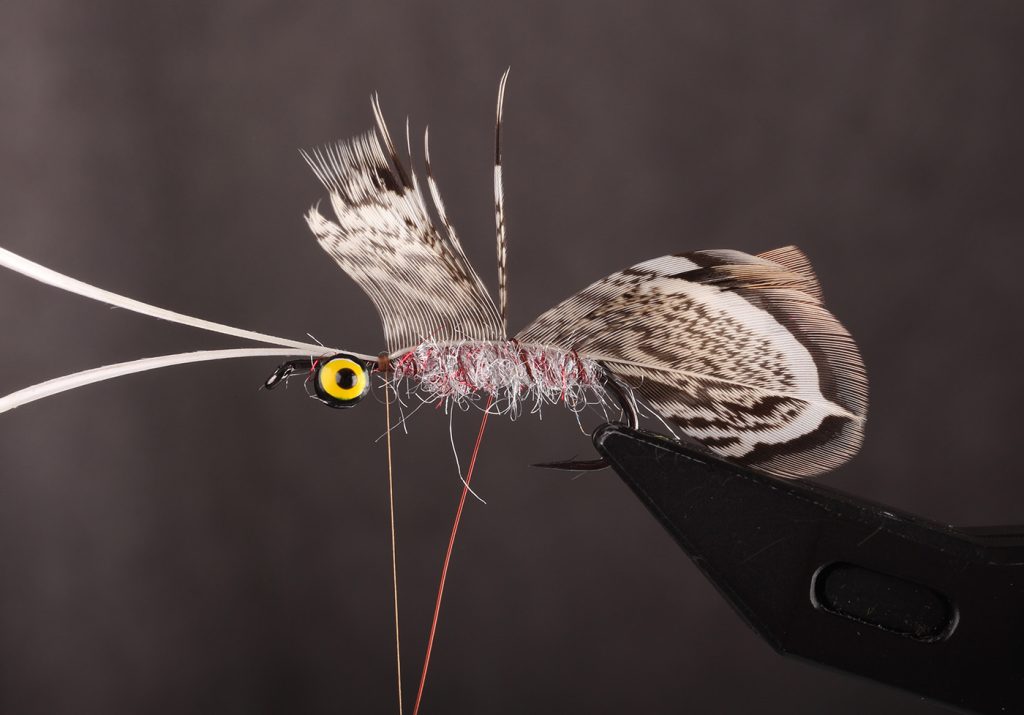
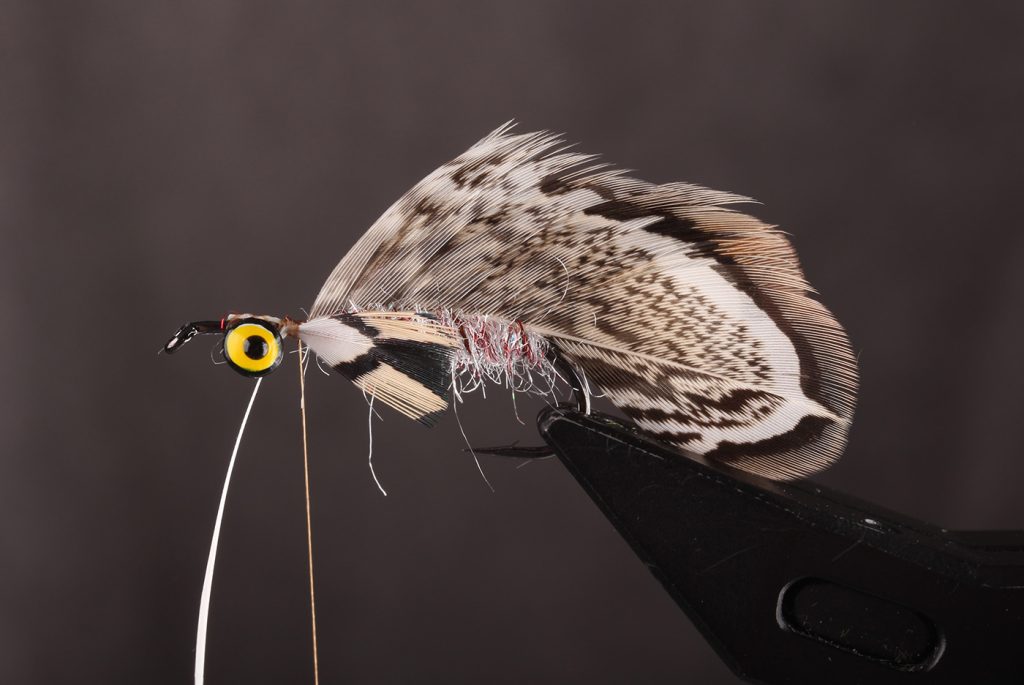
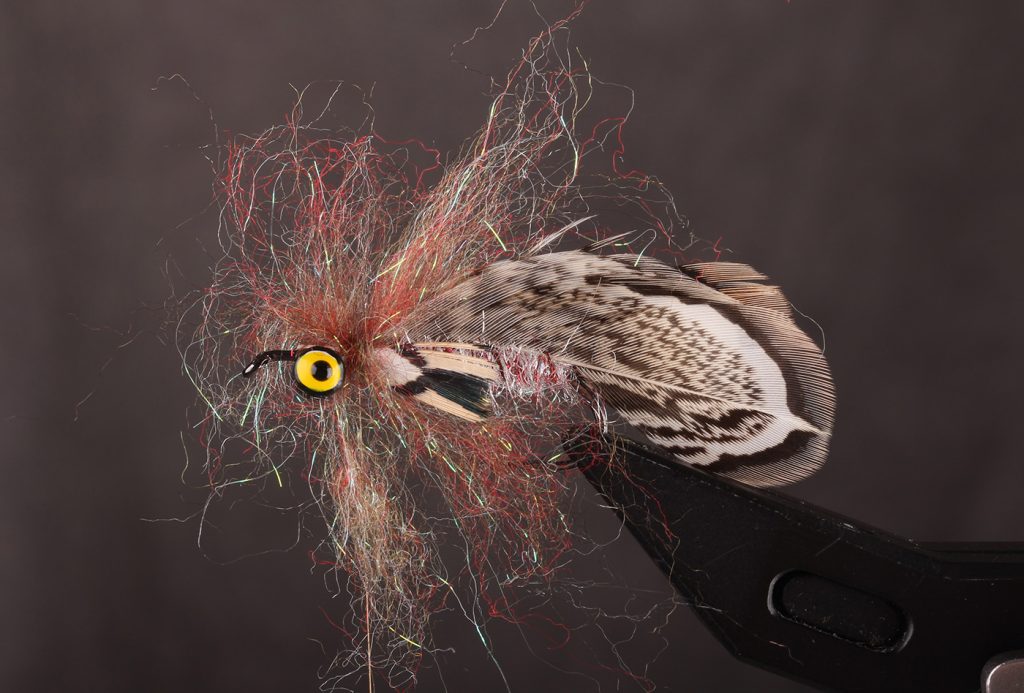
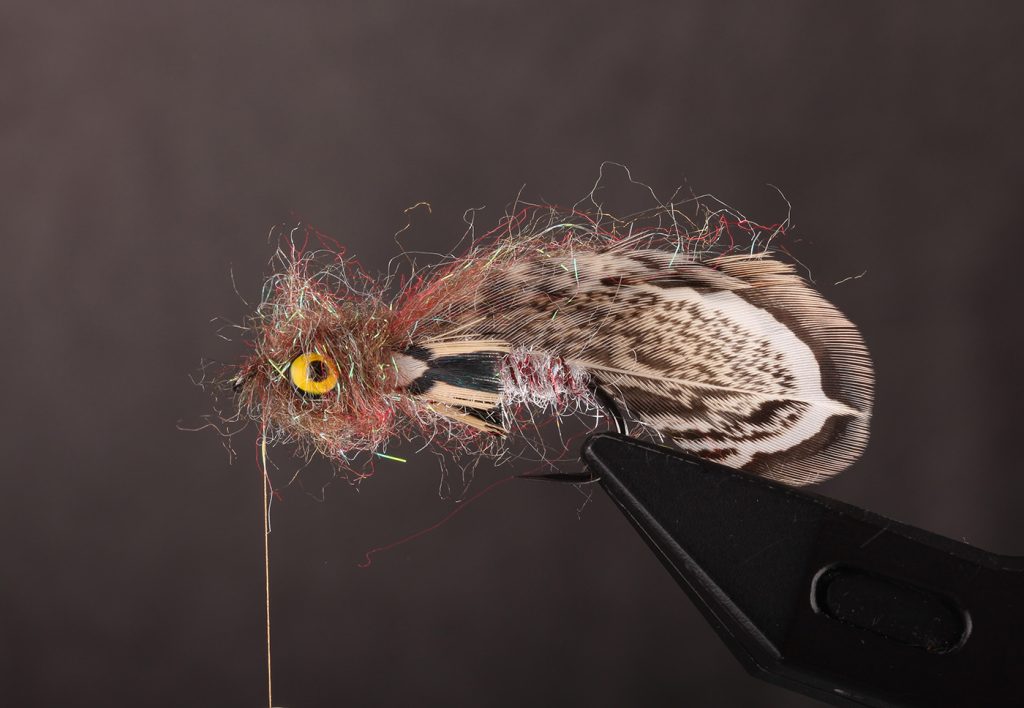
The materials used. Pheasant feathers, dumbbell eyes, dubbing, copper wire, hooks (NS 118) and an Ahrex sticker (the latter isn’t strictly necessary, mind you).Begin by fastening the dumbbell eyes to the underside of the hook shank with figure-of-eight turns, ending by tightening the turns of thread further with a few wraps over the hook shank, under the eyes. Remember to leave a little space between the hook eye and the dumbbell eyes.Tie in the copper wire as you move the thread down towards the bend.Dub the body.Now select the feathers for the wing, the feathers that will ultimately provide the fly with its profile. Håkan uses hackles from just between the neck and the saddle of a cock pheasant. The feathers are located towards the sides of the bird, at the back side of the wing, where it meets the back.The feathers are now tied on in front of the dubbing body. Take note how Håkan has giving the stems a little bend. This prevents the from sticking straight up in the air when tied in. The ribbing will ultimately do the same, but this makes it easier to handle the feathers.Bring the feathers down over the body and catch them in with a wrap of the copper wire. With a needle, take care to divide the feather fibres, so the wire passes through cleanly.Tie off the rib in front of the body, where you also tie in the pectoral fins. They are made with the tips of the same feather.Now tie in two bunches of dubbing, over and under the hook and let them fold back towards the hook bend.Now dub a bushy head and finish with a whip finish.Brush out some dubbing from the head and let in blend in with the two bunches you tied in in front of the wing. Fly done!
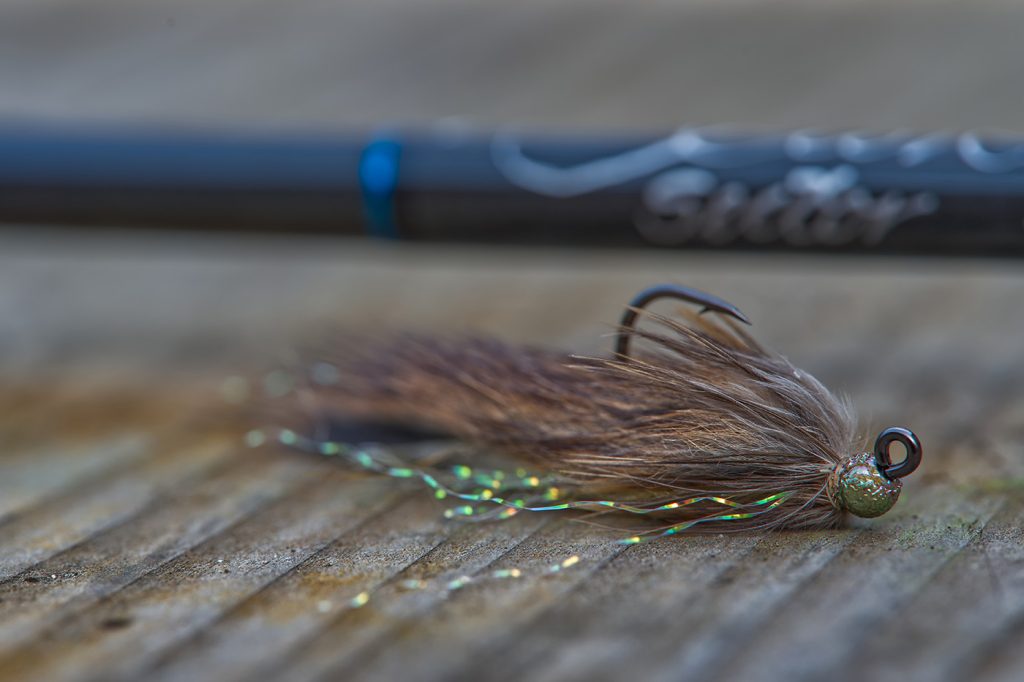
There are endless variations possible with the matuka-style, limited only by the feathers you have available to you. And should you want something that a feather can’t provide, then zonkers are tied the same way, only with a strip of fur instead of feathers. Using a different hook and a bead, you can even create jig-style zonkers as this one.
A weighted jig hook (Ahrex FW550 size 4) keeps this one swimming deep and upside down.
Daniel Bergman from Fly Dressing in Sweden has just released a video, showing in detail how he ties this style of jig-zonker-streamer. When tying this type of flies, intended to fish deep, it’s important to keep them simple, because you will lose some as you tumble them along the bottom.