
The Stimulator is a very well known fly pattern, especially in North America – and certainly in Montana, where I think it’s impossible to find a fly shop that doesn’t have it in the trays. It might even be hard to a fly box without a Stimulator in it. It’s a very versatile fly and of course not only effective in the US, but on trout everywhere.
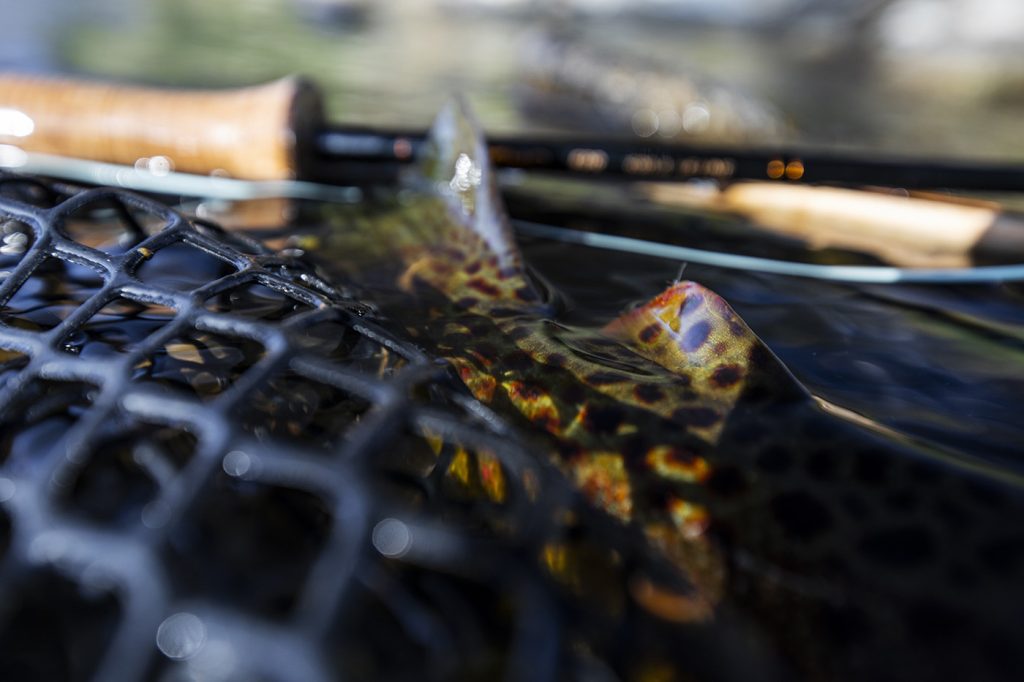
Photo: Matt Guymon / Freestone River Photography.
The fly traces its origins back to the 1940s, but it became widely known and common in use when Randall Kaufmann popularised it in the 1980s. It’s a very versatile fly and I’m not even sure if there’s a specific, original recipe for it, because it lends itself so well to almost any colour combination one can think of.
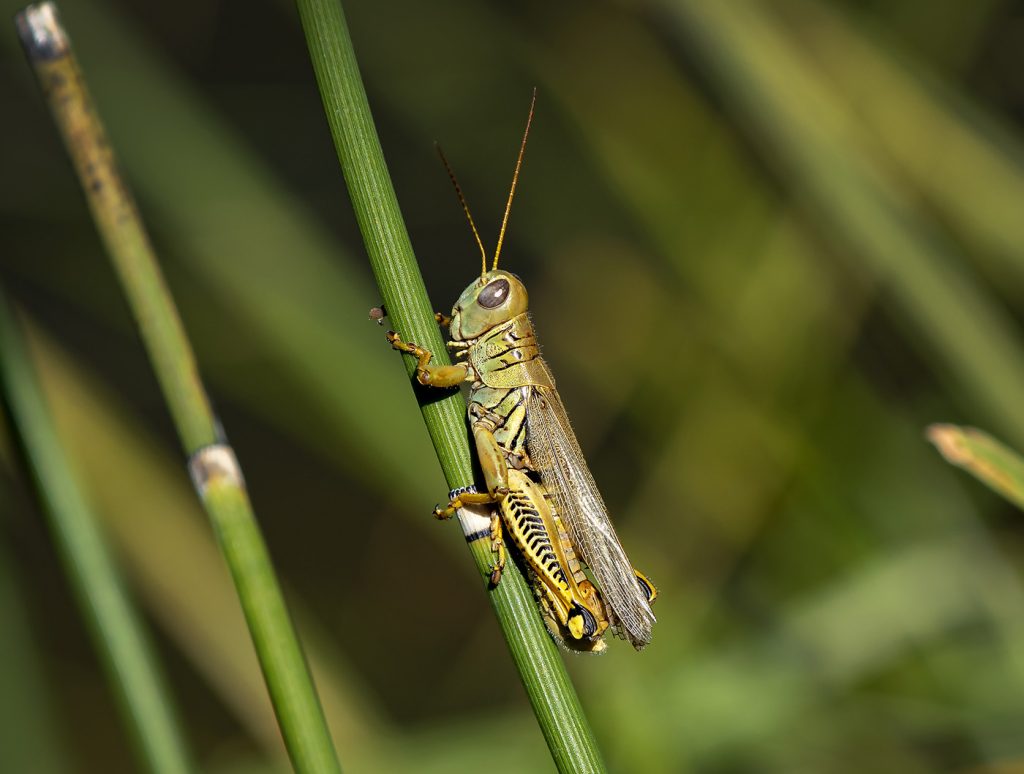
Depending on size (and colour) and looking at the overall profile of the dressing, grasshoppers and caddis come to mind, but as the name says, maybe it’s so effective simply because it’s basic elements stimulates the trout’s predatory instincts and makes it rise.
It can obviously be used as a stand alone dry fly. Many years ago I had great success with it in Montana presenting it to bank hugging grasshopper eating trout on the Firehole River. The two hackles and deer hair wing makes it float well, but if you exclude floatant on it, it will eventually sink under the surface. Never sink as such, but drifting it “damp” can be very effective as well. It’ll imitate all sorts of terrestrials, not only grasshoppers and one important aspect of the dressing is that it floats well enough that you can splash it without sinking it.
It’s very popular as a dropper with a nymph under it, tied either on a regular dropper or as a New Zealand rig, where the nymph is simply tied directly to the bend of the Stimulator. Using is as such the fly functions as an indicator. It’s not that uncommon for a trout to hit the indicator and in the case, the “indicator” will hook the fish. It’s definitely worth having in the box – I usually carry a handful in natural colours in size 10 and 12.
It’s not difficult to tie, but it does have some steps that require a little attention. Check the following step-by-step by Håkan Karsnäser. This is not the original dressing, but a variation by Håkan, which you can vary to your own taste.
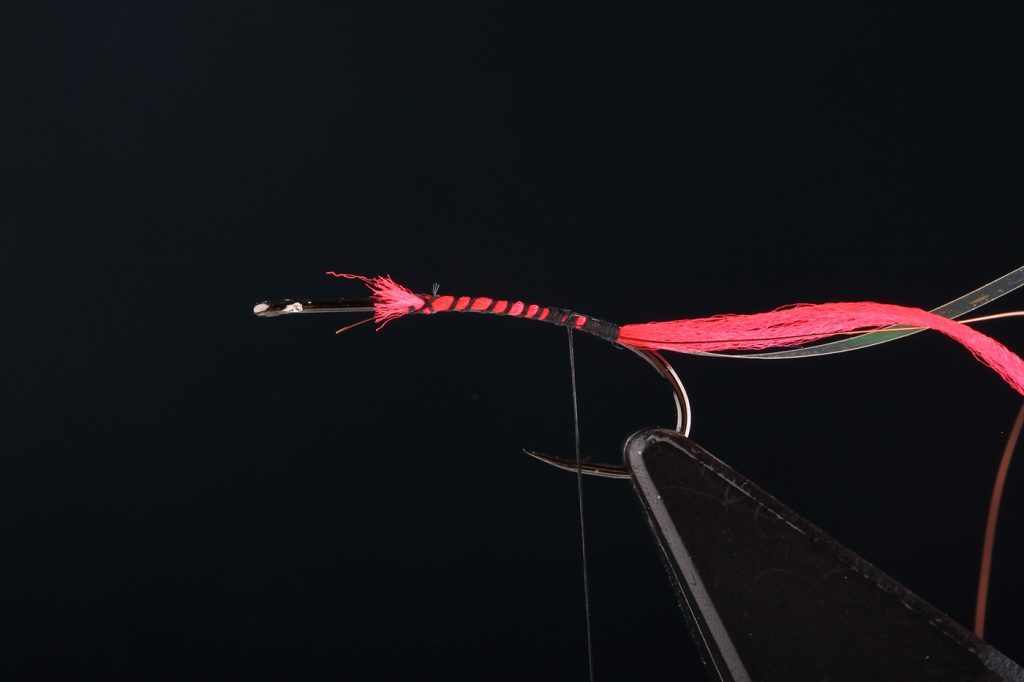
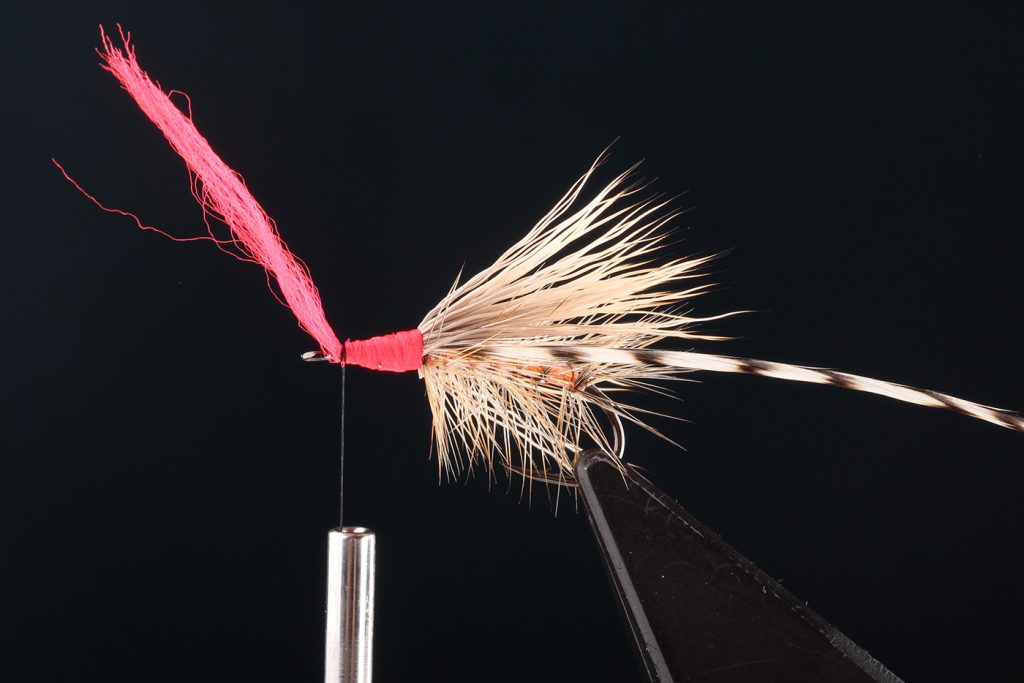
Attach first ribbing, tinsel and floss. You can use dubbing as well. The original also has a tail of deer hair.

Wind the floss (or dubbing) towards the eye, covering about 2/3 of the shank.
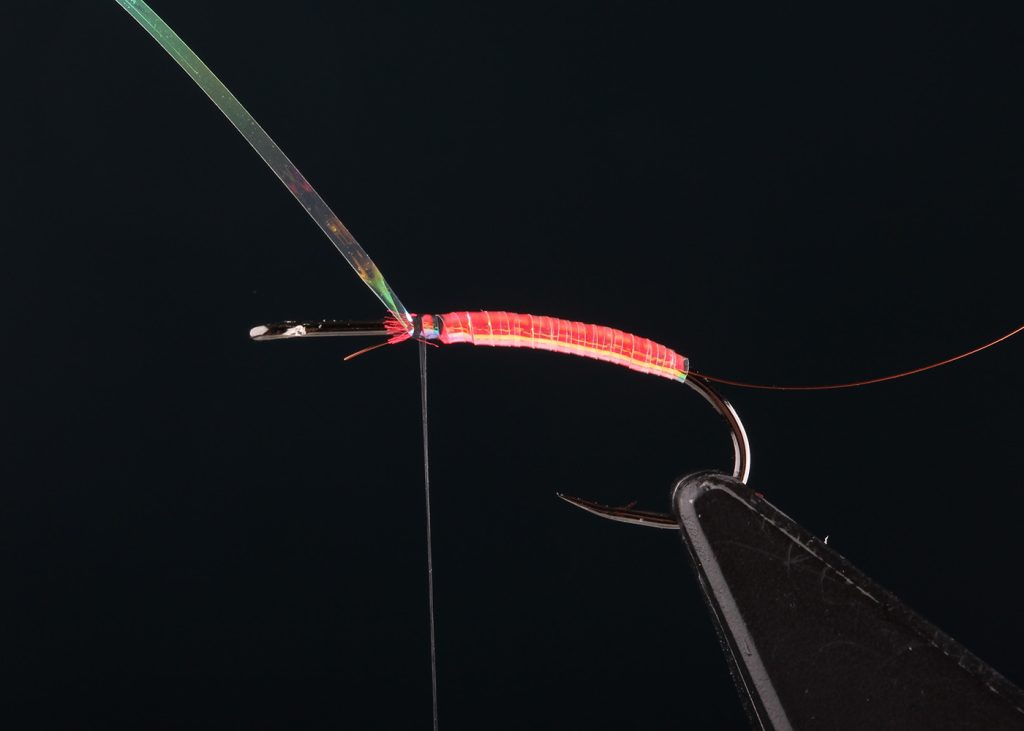
Wind the tinsel to cover the floss.
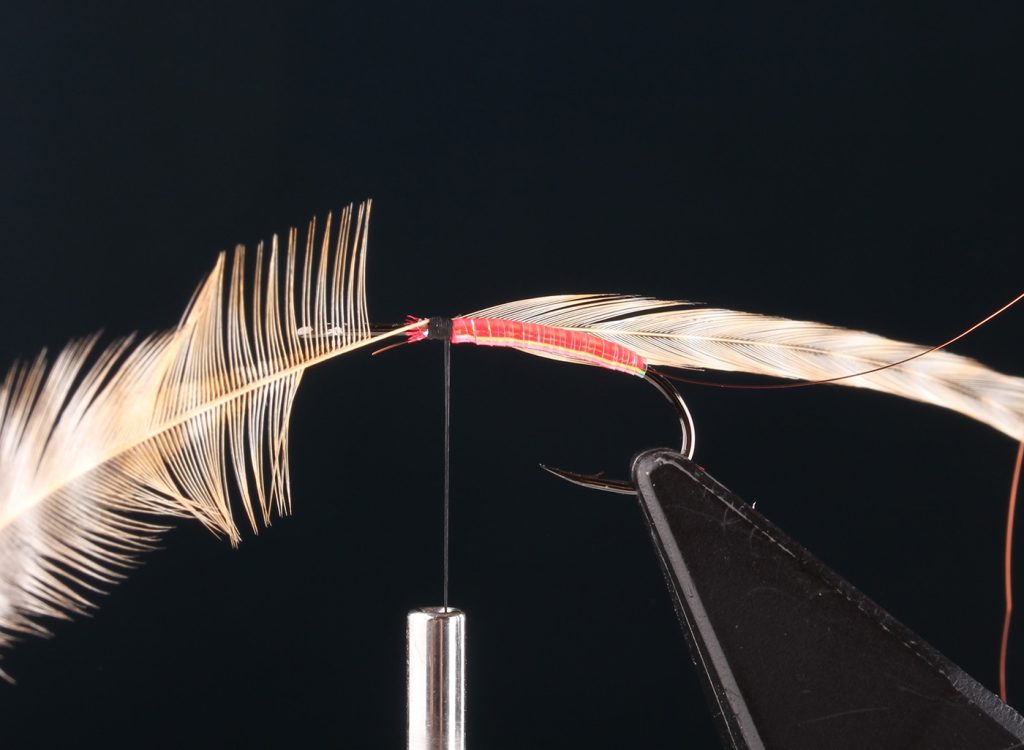
Tie in a hackle in front of the floss body.
Wind the hackle towards the hook bend.
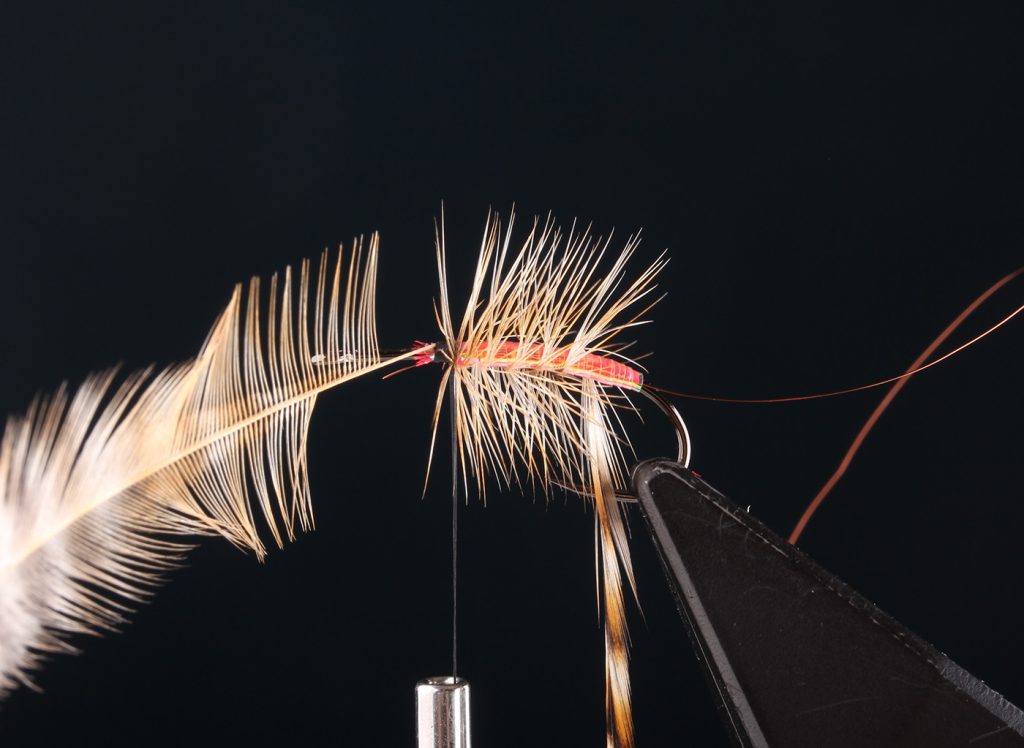
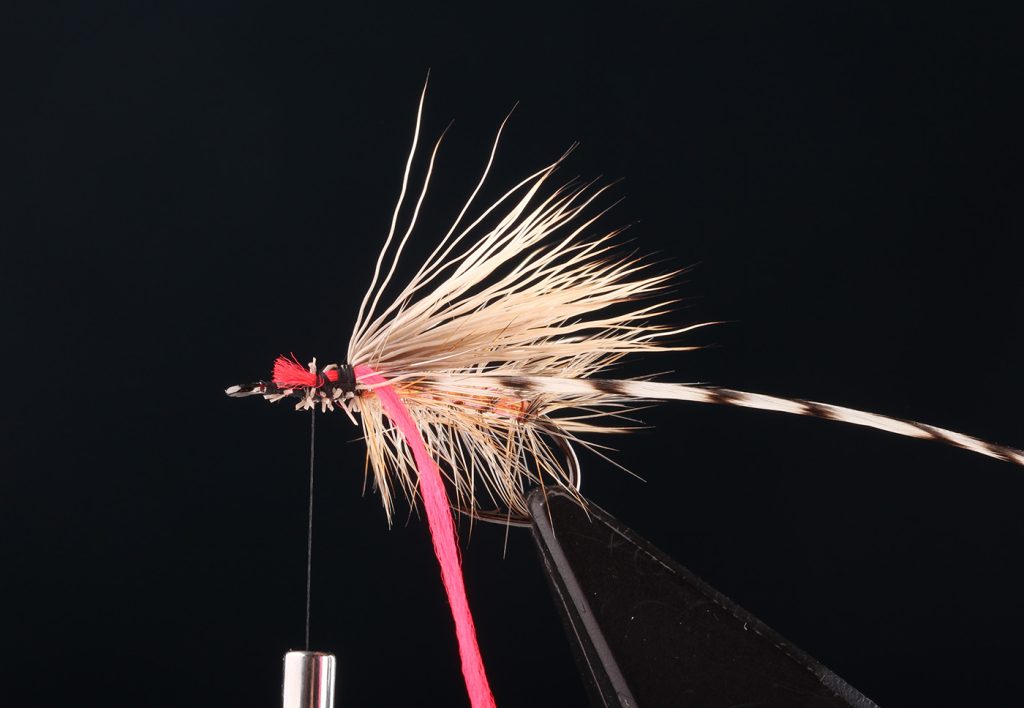
Catch the hackle with the ribbing and wind the rib towards the hook, catching the hackle and tie off in front of the body.
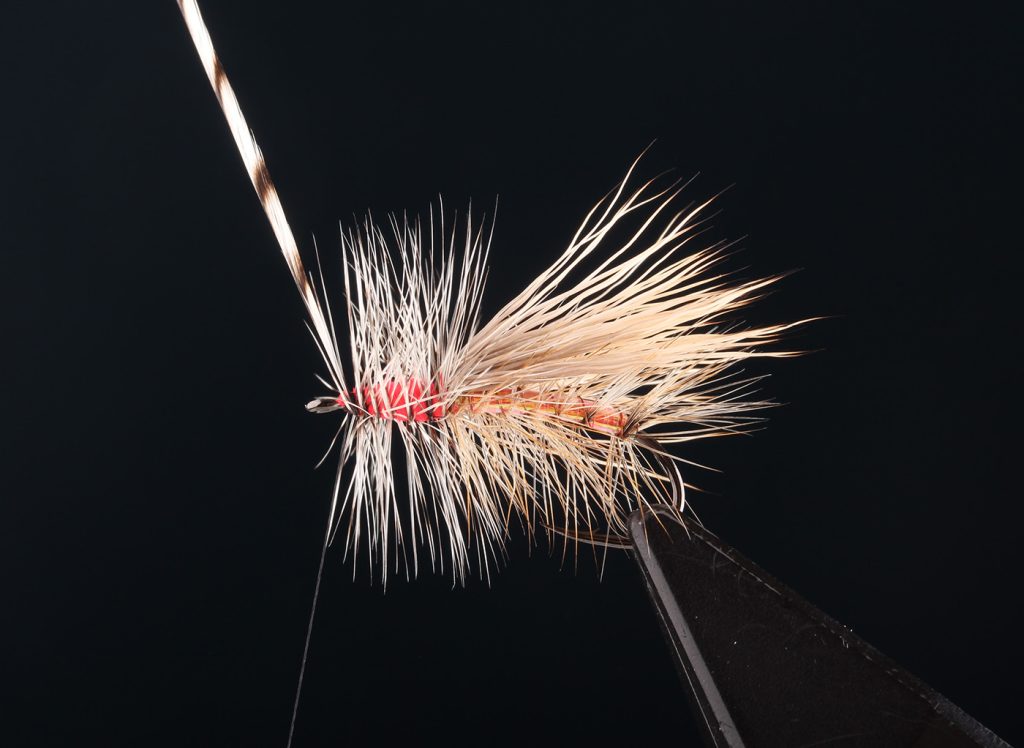
Cut off a bunch of see hair and tie it down in front of the body. Come back with a few lose turns to flatten the wing a little bit.
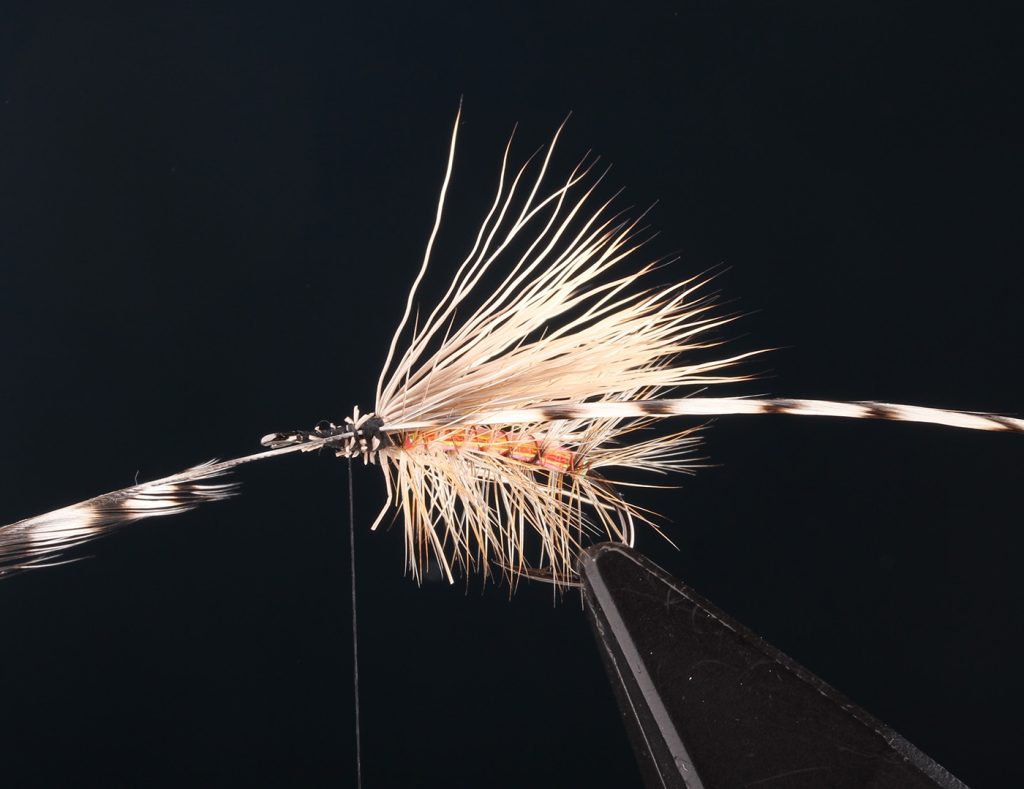
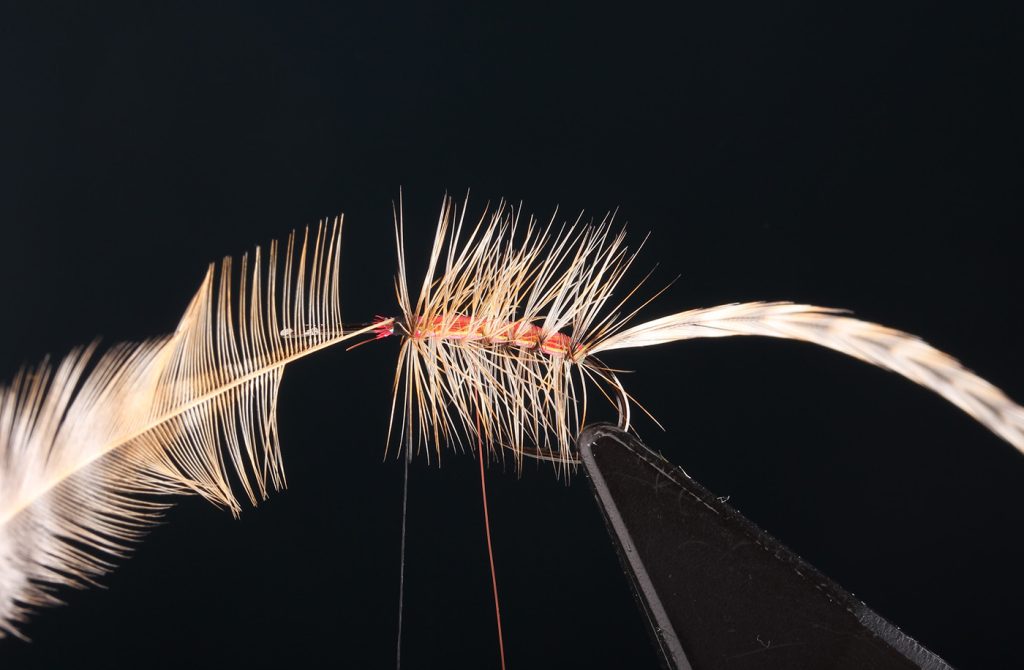
Cut off the butt ends of the deer hair and tie in a grizzle hackle just in front of the wing.
Tie in the floss for the forward 1/3 of the fly.
Wind the floss towards the hook eye.
Wind the grizzle hackle to the hook eye as well. Wind it en fairly close turns.
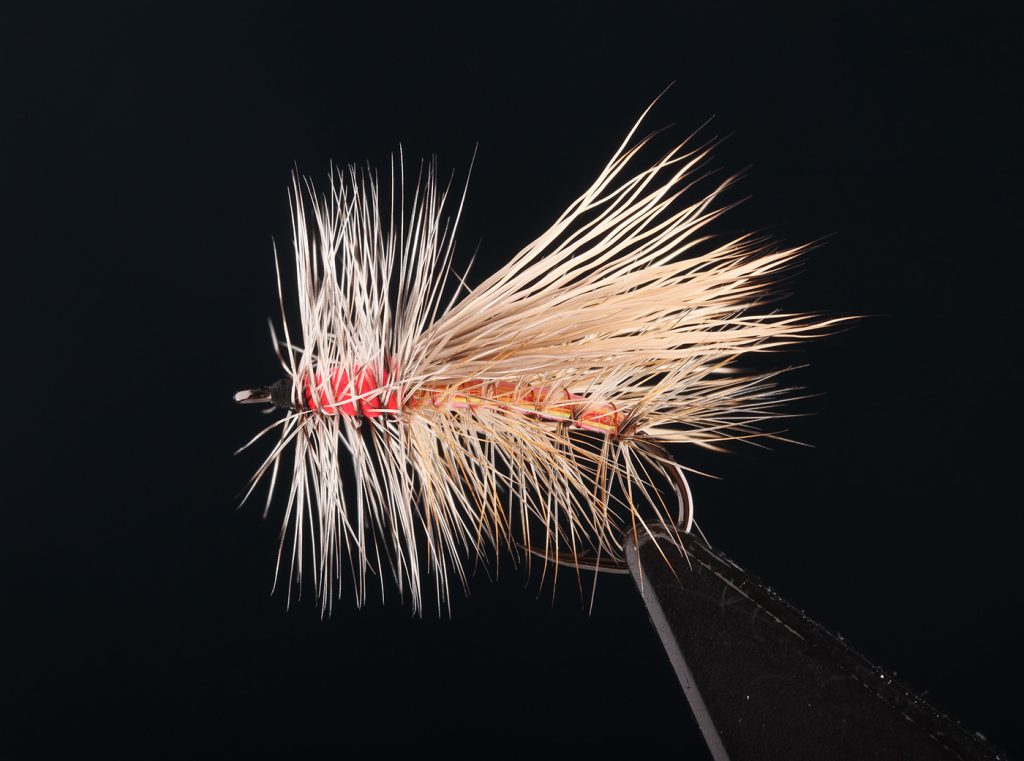
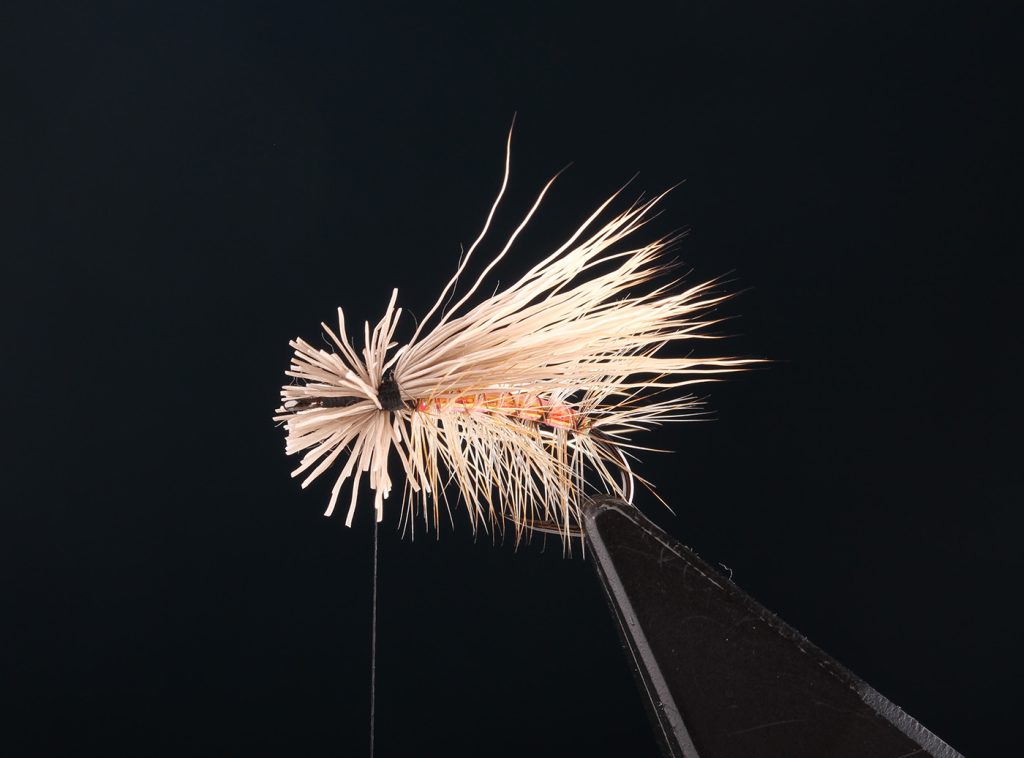
Form a small head and the fly is finished.
We also have a video, where Håkan shows how to tie this variant. Would you rather see that, check it out here:
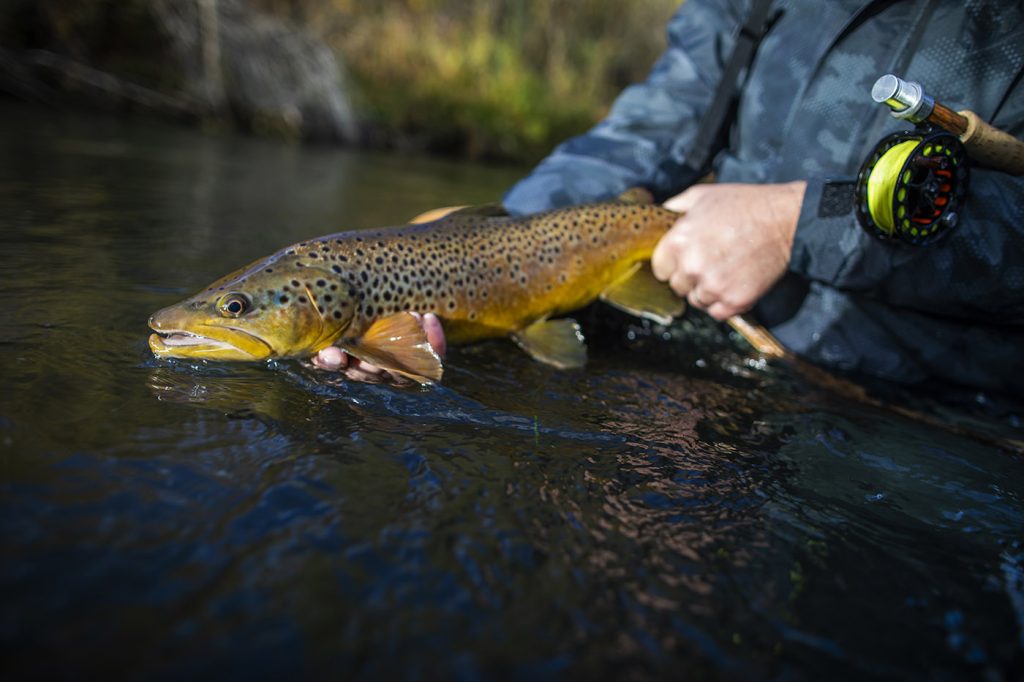
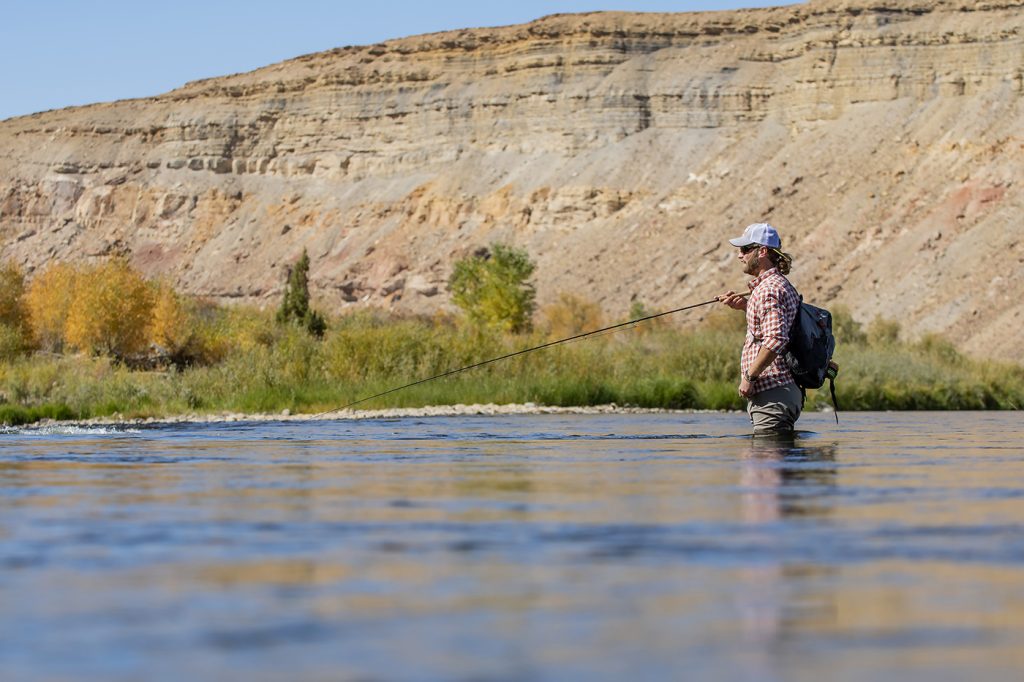
Photo: Matt Guymon / Freestone River Photography.

This weekend we will be at The Fly Fishing Show in Lancaster, PA. It’s held at the Lancaster Country Convention Center. Saturday the show opens at 9am, closing at 5.3pm and Sunday opens at 9am and closes at 4.30pm.
You can read more here: