Every trout angler knows the satisfaction of watching a trout repeatedly rise to take the same insect on the surface. As you carefully note the trout’s position, you tie on a close imitation of the mayflies the trout is eating and as the first cast lands, out come is almost given.

And we all love that situation, but it’s just not that common and if you’re just really keen on catching a fish on a dry fly, you need an attractor rather than an imitation, when nothing’s happening.
Attractors aren’t really supposed to imitate anything in particular, just look edible or more objectively, trigger the trout’s eating-response. The Stimulator is an excellent attractor, even if it was originally designed as a stonefly imitation. Another very popular and very effective attractor is the Humpy.
And when you try to lure trout to an attractor, what’s better than a truly time proven pattern? It’s hard to know for certain who really created the Humpy, but it seems to go back to before the 1950s, where it was tied commercially. The man behind its immense and well deserved popularity is Jack Dennis of Yellowstone, Montana.
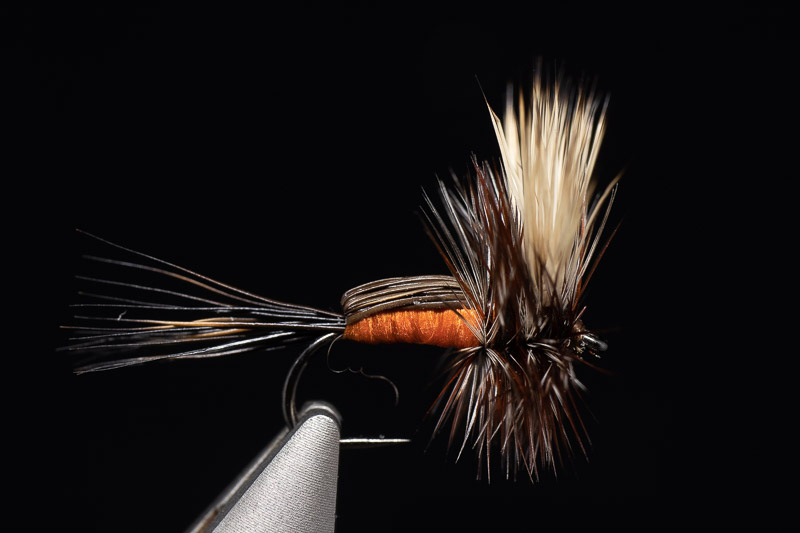
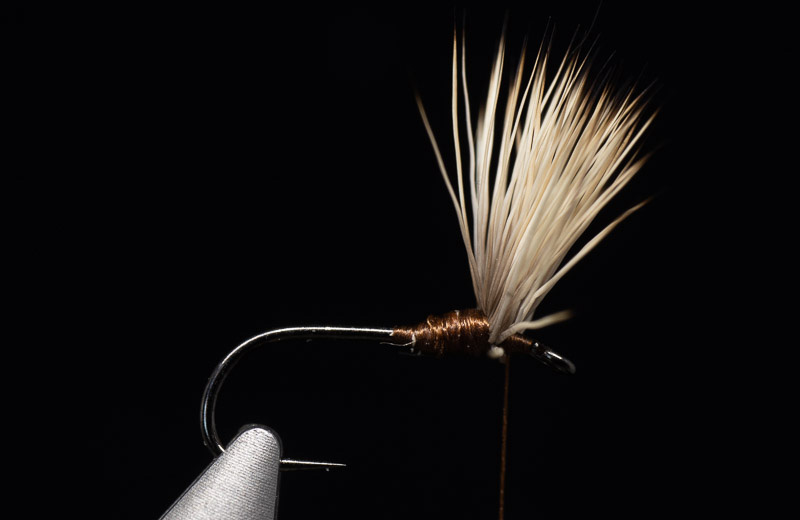
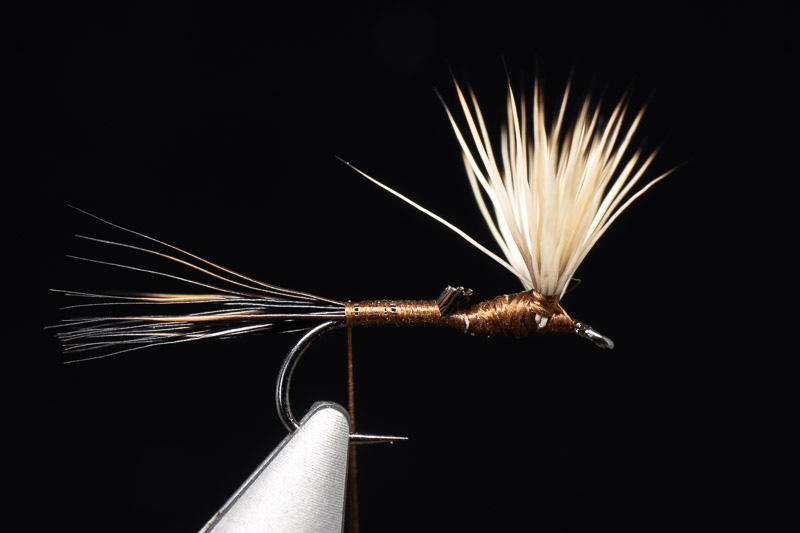
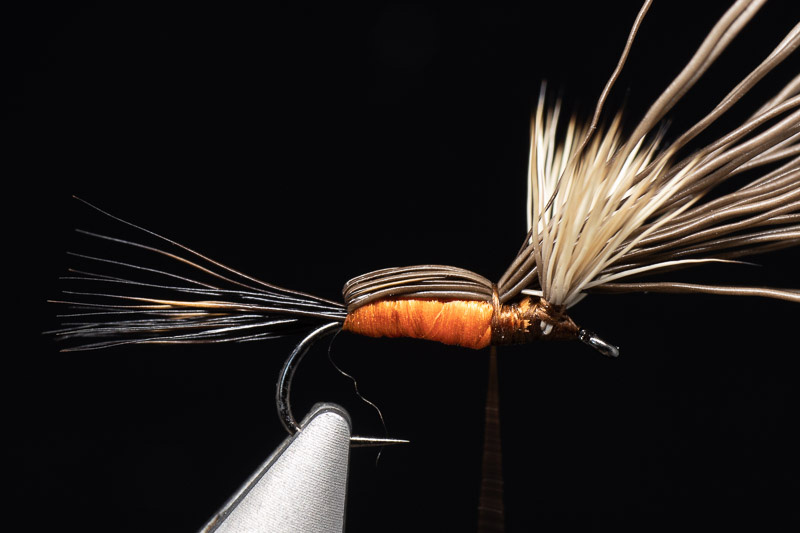
The reason for the name is obvious – the humped back of deer hair that aids in floatation. The design is simple enough and originally, the wings and the back were tied of the same clump of deer hair, which meant that once the deer hair was tied in at the back, you’re locked and if the wings then turn out the wrong length when you come as far as to fold over the deer hair after tying the body, you can either live with that or go back.
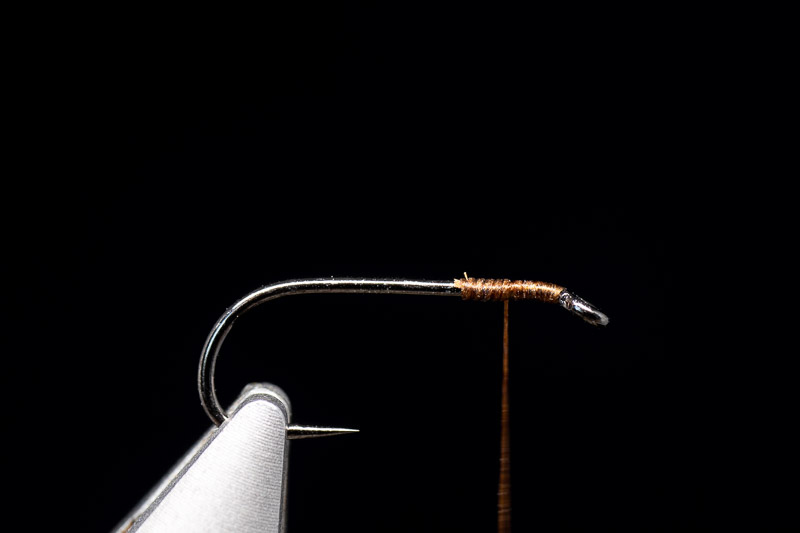
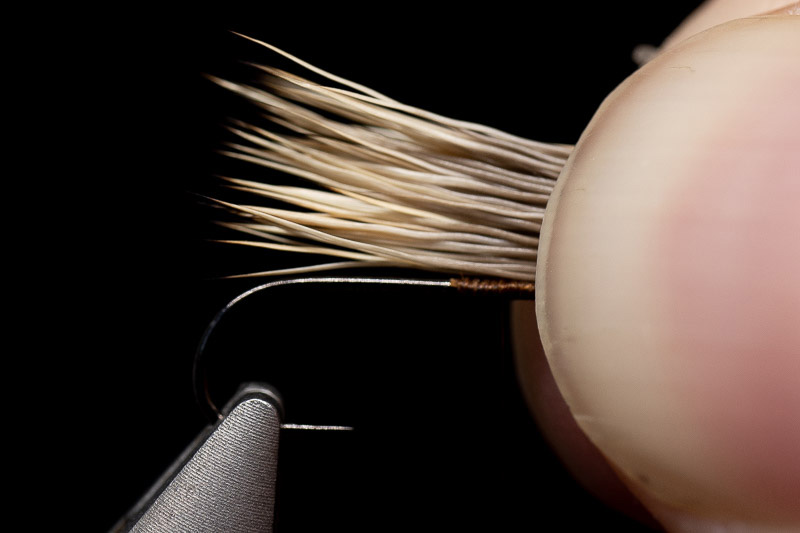
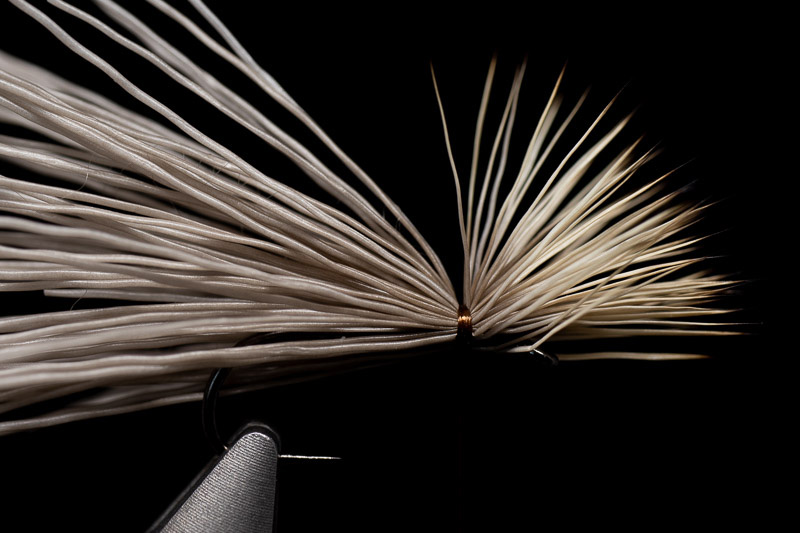
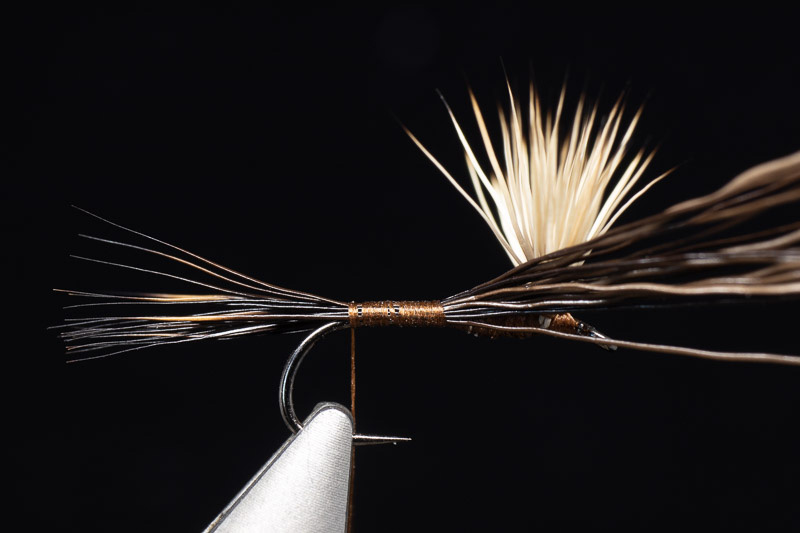
Our friend, Joel Skoghäll has a simple solution for this – tie the wing and the back (and the tail for that matter) from three separate clumps of deer hair.
Check out Joel’s step-by-step here.
Joel says:
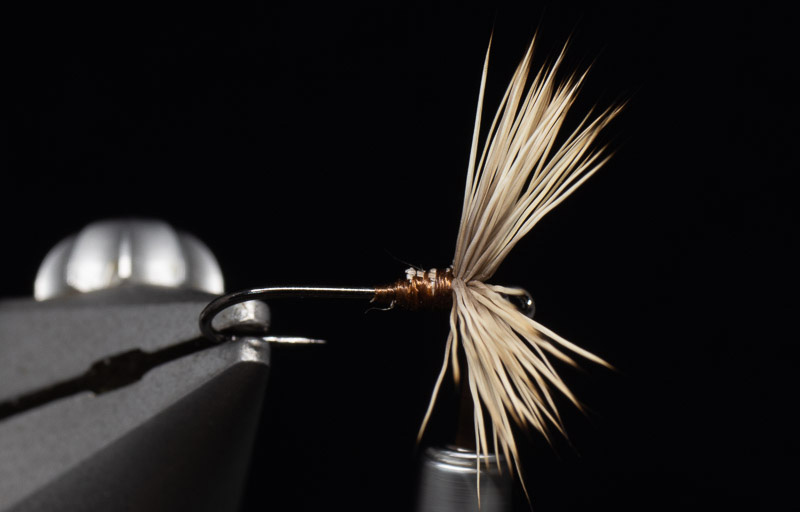
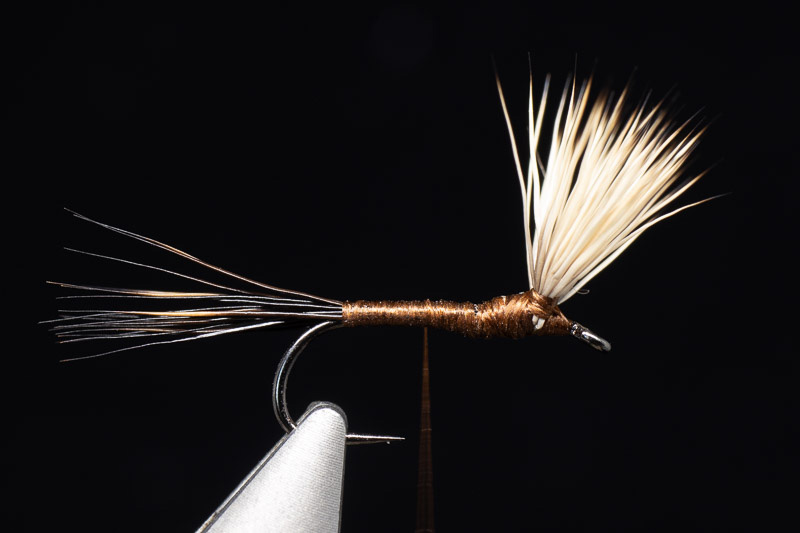
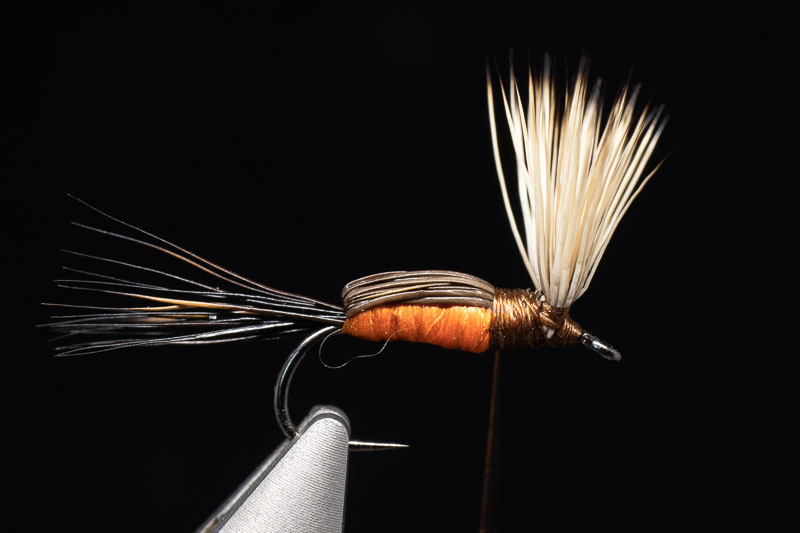
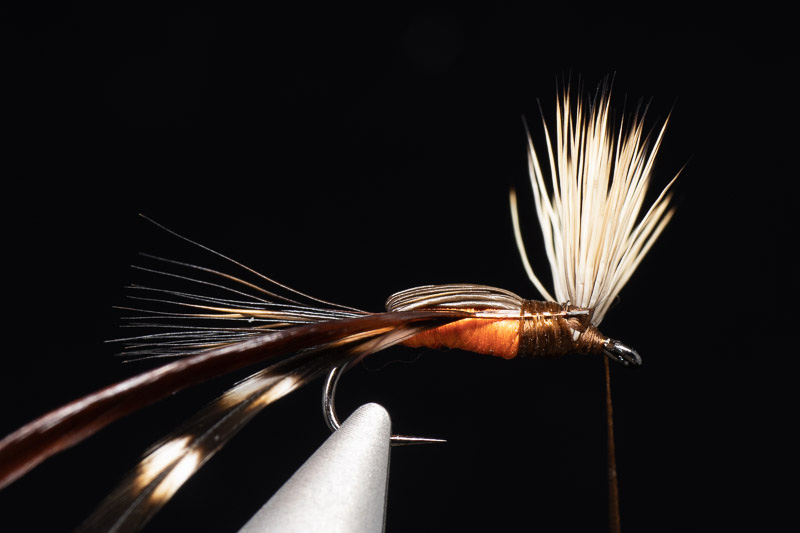
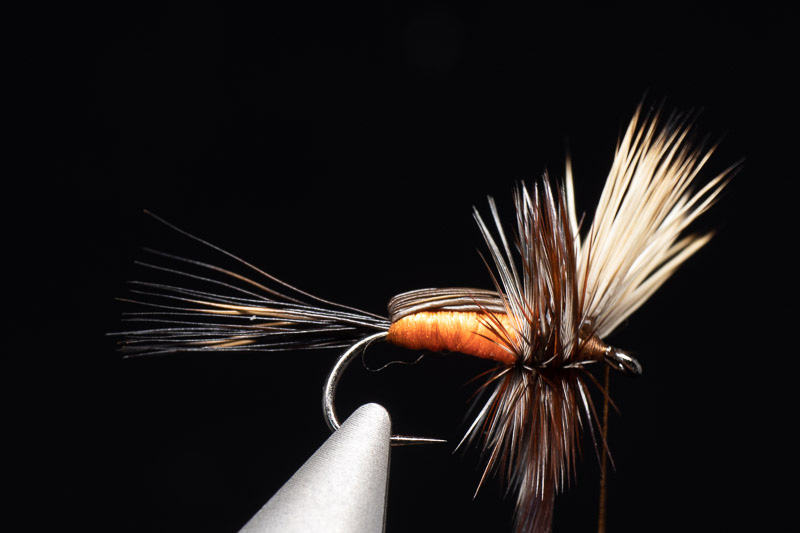
“Humpy is a high-floating dry fly that seems to imitate everything, and at the same thing nothing. However, its effectiveness has been proven and it is most often tied in red or yellow (here in orange though). It imitates everything from mayflies and caddis flies, change the size and the colours and try it out for yourself to match the local conditions.
This pattern can be a bit tricky to tie but if you follow these steps you will be up and running producing dozens in no time.”
Recipe:
Hook: Ahrex FW501 sz 14
Thread: Danville 6/0
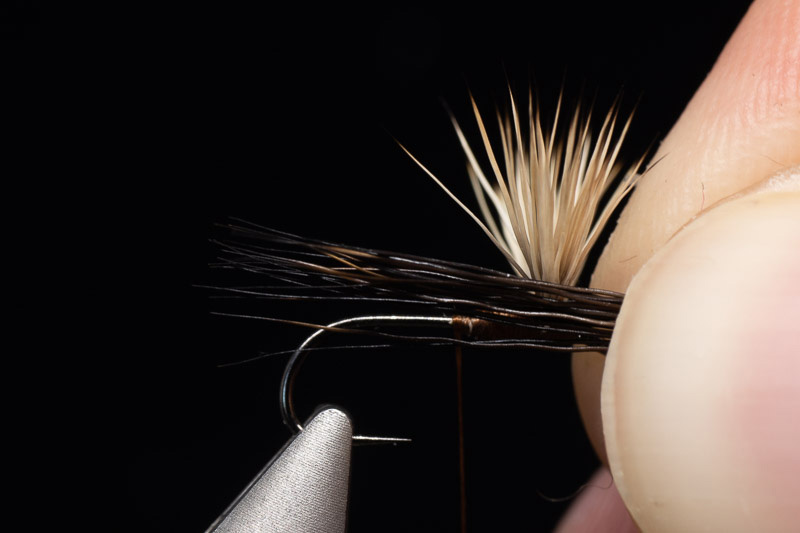
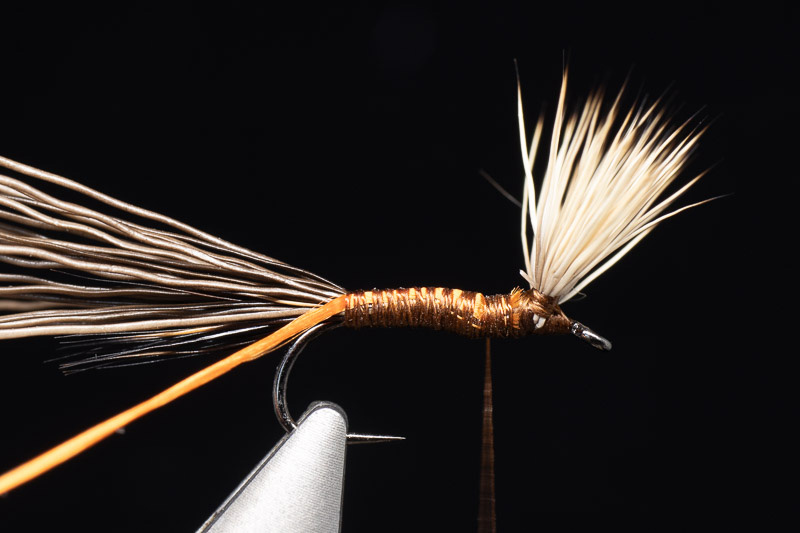
Tail: Moose body hair cleaned and stacked (Elk hair works fine as well)
Body: Orange Floss
Back: Moose body hair (Elk hair works fine as well)
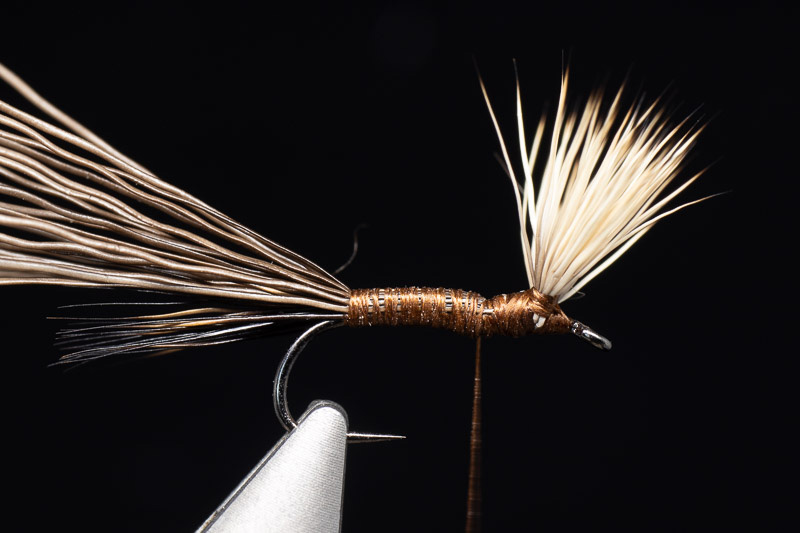
Wing: Elk hair cleaned and stacked
Hackle: Mix of Grizzly and Brown dry fly hackle


Thank you, Joel, for sharing this with us!
Follow Joel on Facebook, Instagram, Youtube and his website Habitats Fly Fishing.